Obtaining Your API Key
API keys are managed from the Codelloy Dashboard. Your organisation can hold as many keys as you need — one per integration is a common pattern — and each key carries a mandatory, human-readable label. Follow these steps to create, label, and securely store a key.
Prerequisites
- Signed in to the Codelloy Dashboard .
- The Owner role to create, revoke, or rename keys. Any role (Owner, Editor, Viewer) can view the key list.
Step-by-Step Guide
Step 1: Open the API keys page
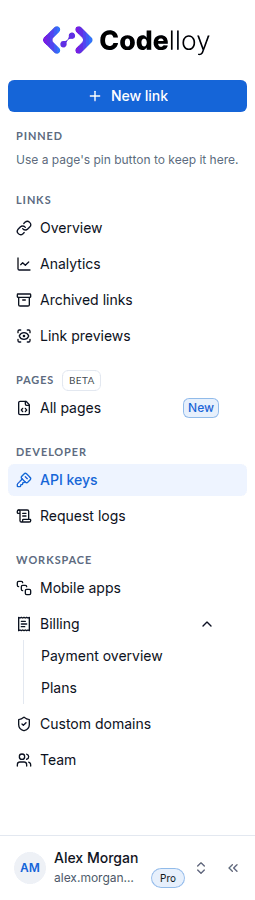
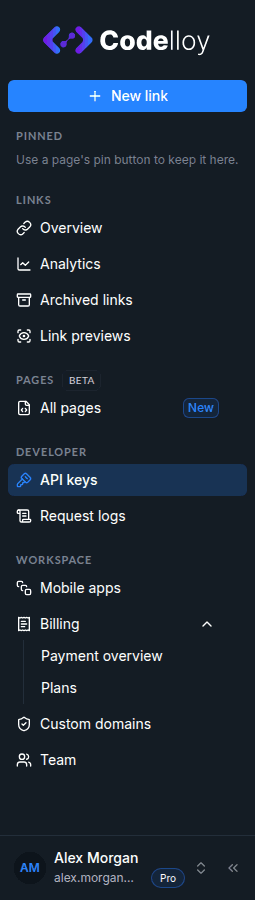
In the dashboard sidebar, open Developer → API keys (key icon). The same section holds Developer → Request logs, the request log.
Step 2: Review your existing keys
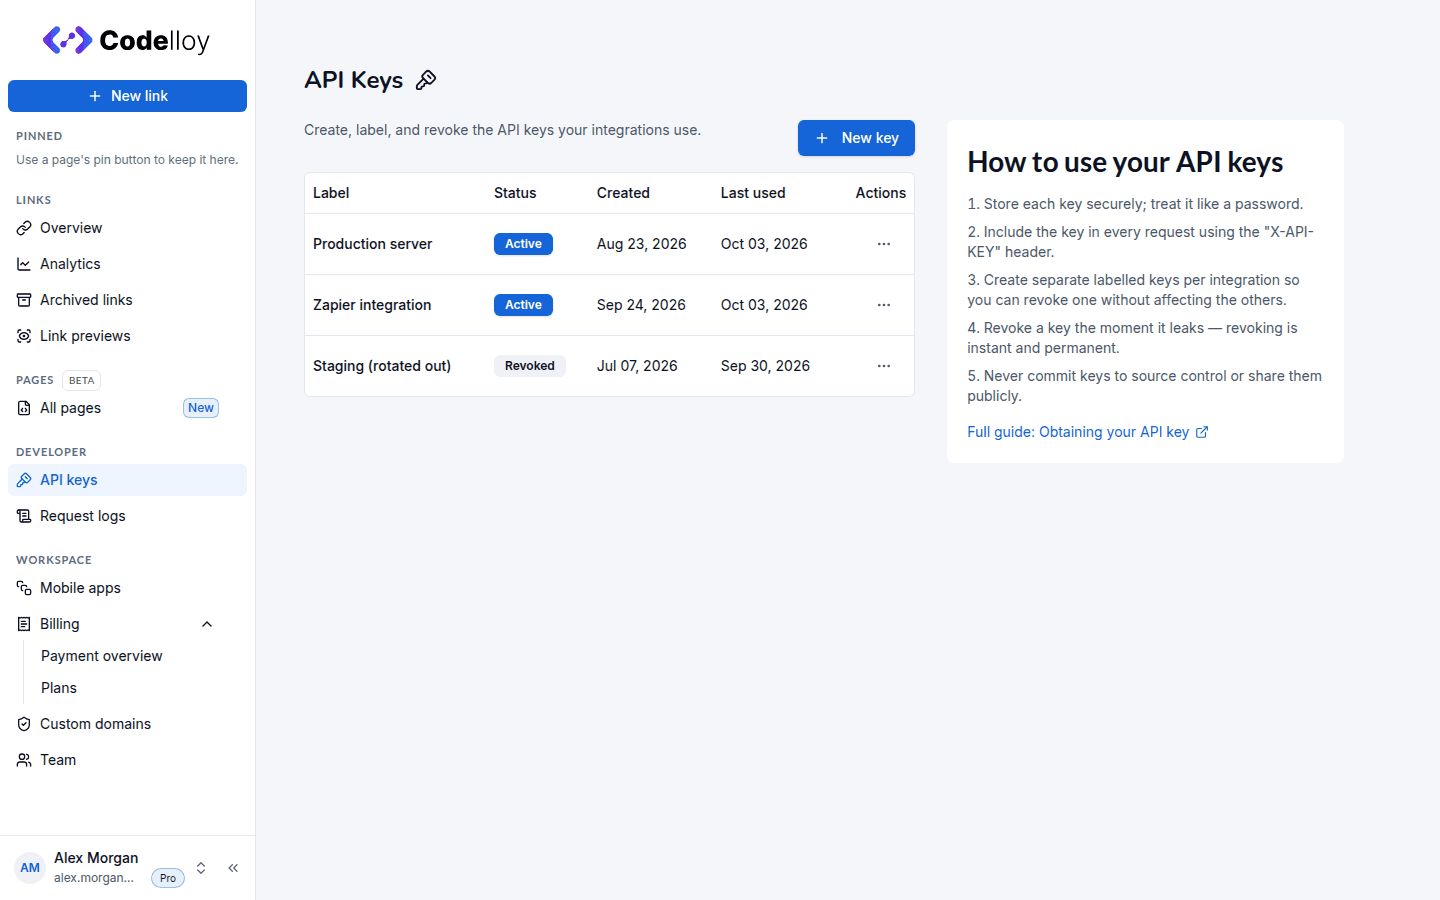
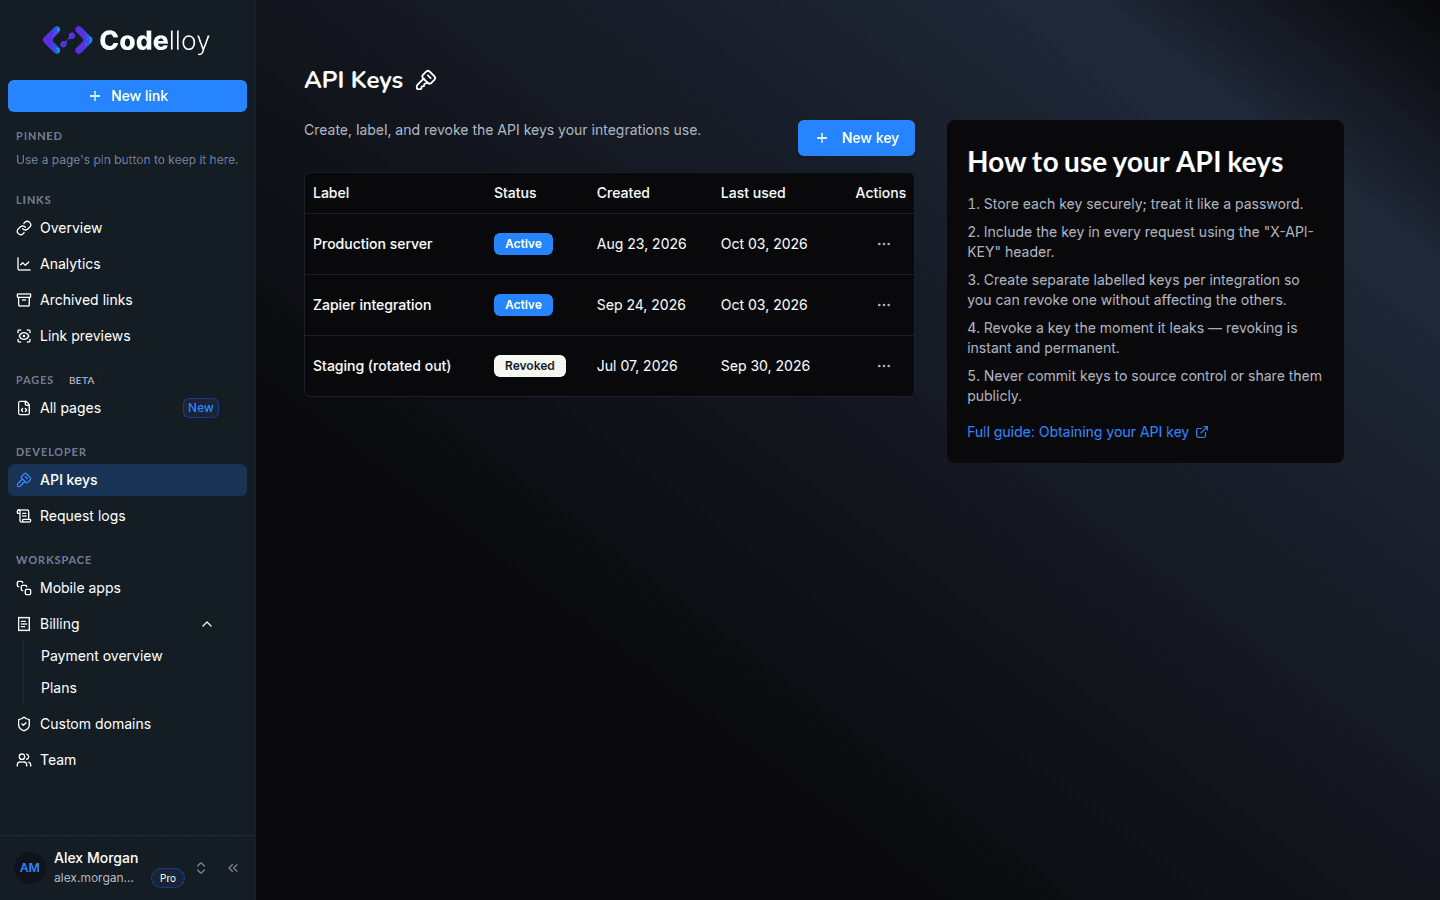
The API keys page lists every key in your organisation. Each row shows the key’s label, a status badge (Active or Revoked), and per-row actions. Creating a new key appends to this list — it never overwrites or disables the keys you already have.
Click New key to add one.
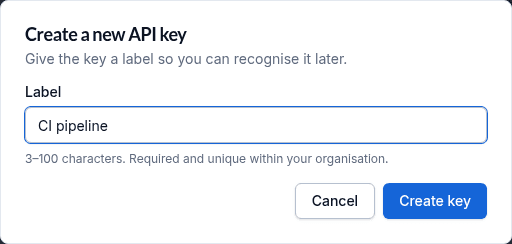
Step 3: Label your new key (required)
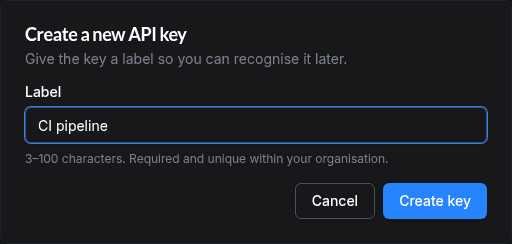
The New key dialog has a required Label input. Labels appear in audit logs and the request log to identify which key created or modified each short URL (for example, api-key:Production Integration versus api-key:CI Pipeline).
Validation rules:
- 3-100 characters.
- Allowed: letters, numbers, spaces, and the punctuation
. , _ - ( )(regex^[\w .,()_-]+$). - Must be unique within your organisation (case-insensitively). Reusing a label — including one belonging to a revoked key — is rejected.
Examples that work: Production Integration, Beat81 staging, Marketing automation (Mailchimp).
Step 4: Create the key
Click Create key in the dialog. The new key is appended to your list and its raw value is shown immediately.
Step 5: Copy & store your API key
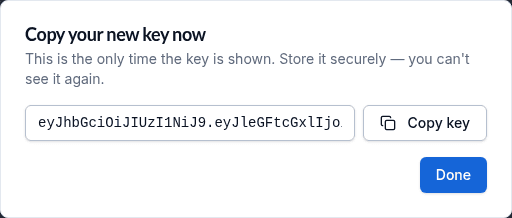
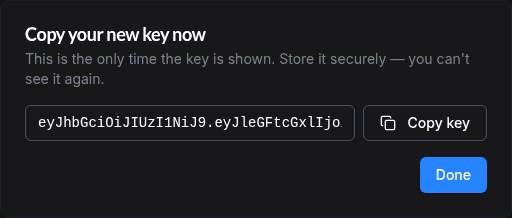
After creation, the new key appears once in a read-only text field.
- Click the copy button (clipboard icon) next to the key.
- The button briefly changes to a checkmark with Copied to confirm.
- Store the key securely: in a password manager or environment variable.
🔒 The raw key is shown only once. Once you close or leave this view there is no way to retrieve it again. If you lose it, revoke the key and create a new one.
Managing multiple keys
Because keys are additive, you can scope one key per integration and manage them independently:
- Create a key for each integration (CI, a marketing tool, a backend service) so each has its own label in the audit trail and request log.
- Rotate a key by creating its replacement first, cutting the integration over, then revoking the old key — there is no destructive “regenerate” button that swaps a key in place.
- Revoke a compromised or retired key without touching any other key.
Revoking a key
Each active key row has a Revoke action. Click it, confirm in the dialog, and the key becomes permanently inactive:
- Revocation is terminal — a revoked key cannot be reactivated.
- The key stops working immediately; any request using it returns
401 Unauthorized. - The revoked row is retained (its badge flips to Revoked) so historical audit-log and request-log entries still resolve to a label.
To rotate, create the replacement key first, move your integration over, then revoke the old one.
Renaming a key (non-destructive)
To rename a key, click the pencil (Edit label) action on its row, edit, and Save. The rename is scoped to that key’s id and preserves the key value, so every existing integration keeps working. The same validation rules (length, character set, uniqueness) apply.
Audit attribution
Every short URL written via the External API stores createdBy = api-key:<the key's label> (and updatedBy on the next edit). The Codelloy dashboard renders these with a key icon and the label text, distinct from human-created links, which show an email and a person icon. See Field Reference → Short URL Object and the createdVia / lastModifiedVia columns which carry the structured origin (EXTERNAL / INTERNAL) alongside the human-readable principal.
API Key Best Practices
- Create one key per integration and revoke individually. Distinct keys give each integration its own label in the audit trail and let you revoke a single compromised key without disrupting the others.
- Use descriptive labels: your future self thanks you when auditing.
- Store the key securely: treat it like a password; never commit it to source control.
- Include the key in every request using the
X-API-KEYheader. - Rotate by create-then-revoke. Mint the replacement key, cut your integration over, then revoke the old key — no overlap window is forced on you.
- If you suspect a leak, revoke the affected key immediately and create a fresh one for that integration.
Next steps
- Request Logs: inspect every External API request — method, path, status, latency, and the captured request/response bodies — and correlate them by
X-Request-Id. - Mobile Apps: register your iOS and Android apps if you plan to use deep links. The per-platform
mobileAppIdis required on everydeepLinks[]entry. - Quick Start: make your first API call.
- API Errors: handle authentication failures (
SML003), access denied (SML010) and the rest of the catalogue.